Heart of the Matter Online is hosting a Creative Homeschooling series this summer. Today’s topic is mini-offices. If you’ve been homeschooling for any length of time and if you’ve been surfing the ‘net for ideas, you’ve seen these file-folder offices that you personalize with facts you want your child to learn or references you want her to have access to readily.
Well, I took it a step further for moms (and kids) who sit at the kitchen (or dining room or schoolroom) table. Mini offices grow up to be mom-offices! Ever wish you could just hide for a few minutes, but still be there for emergencies (like the classic, “Is it time for snack yet?”)? Well, with a mom-office at the kitchen table, you can have your own space to hide and to use as a reference.
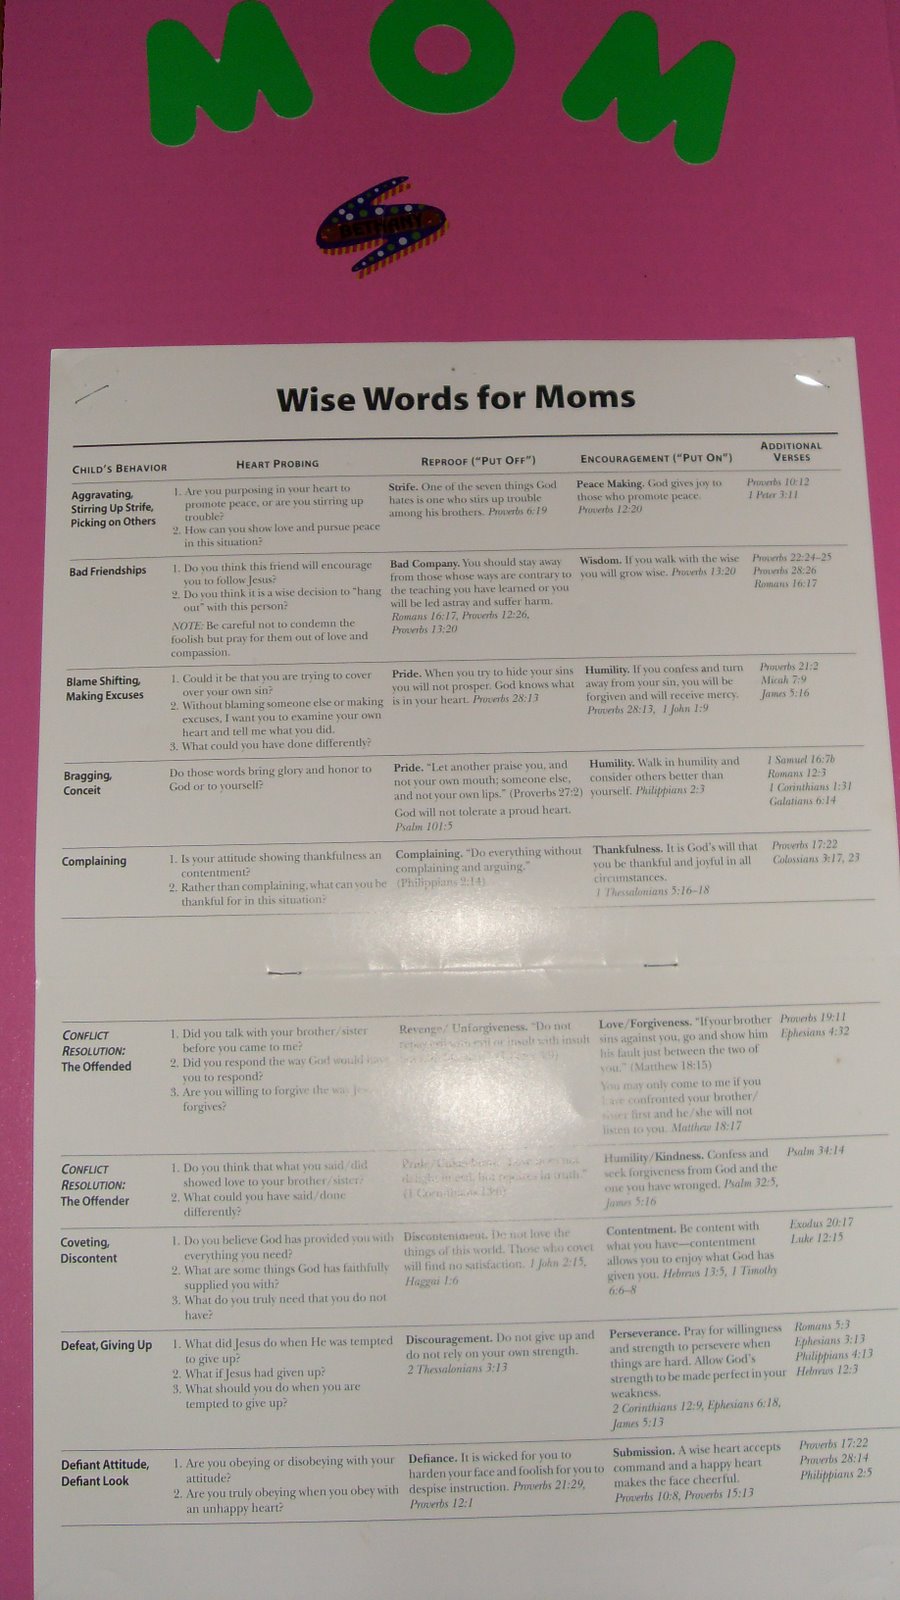
I had a request for more information on how I laid out my office, so here it is. On the left panel, I put “Wise Words for Mom” by Ginger Plowman, a calendar-size chart with categorized verses to share with your children (or yourself) at opportune moments. Some of the categories include complaining, giving up, and defiant attitude. Also on the left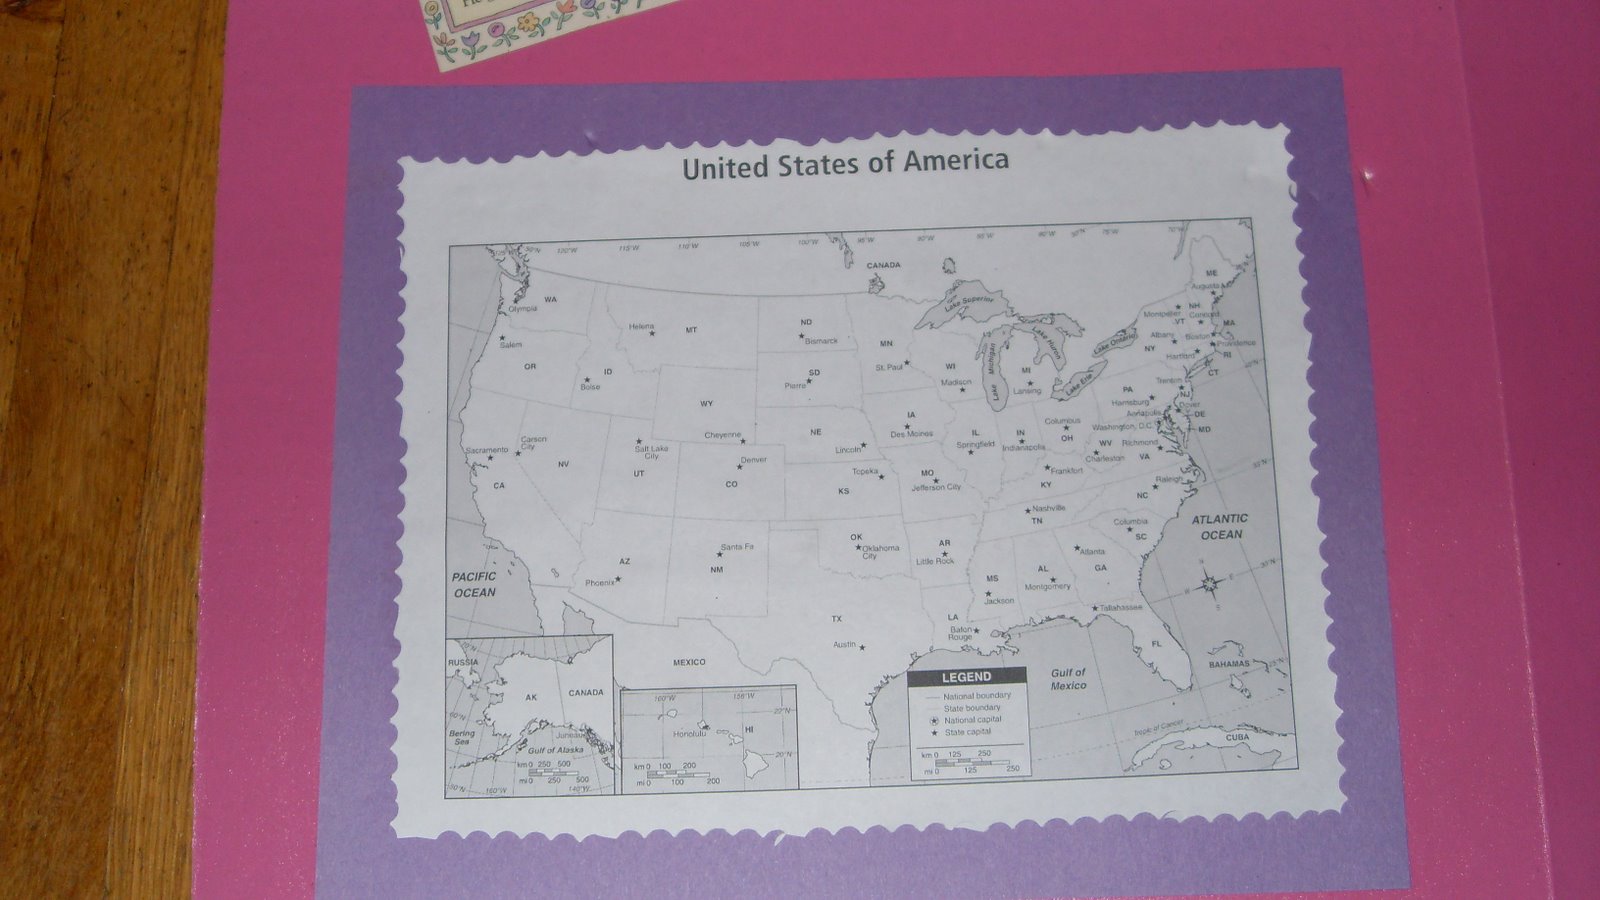 panel I printed out a labeled map of the United States with the capitals listed.
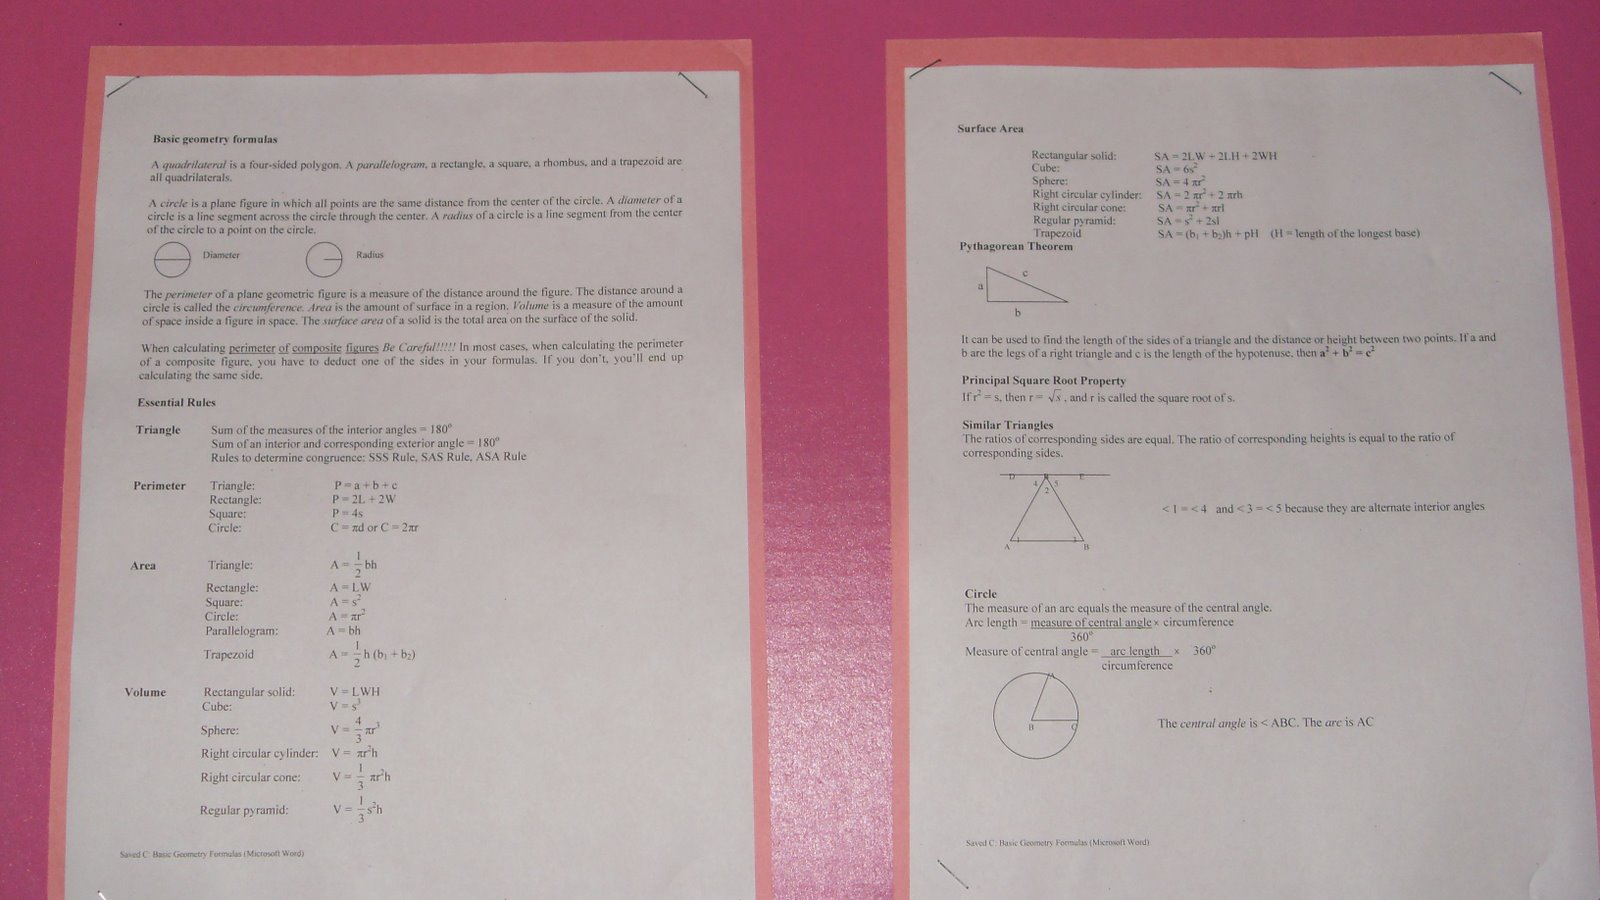
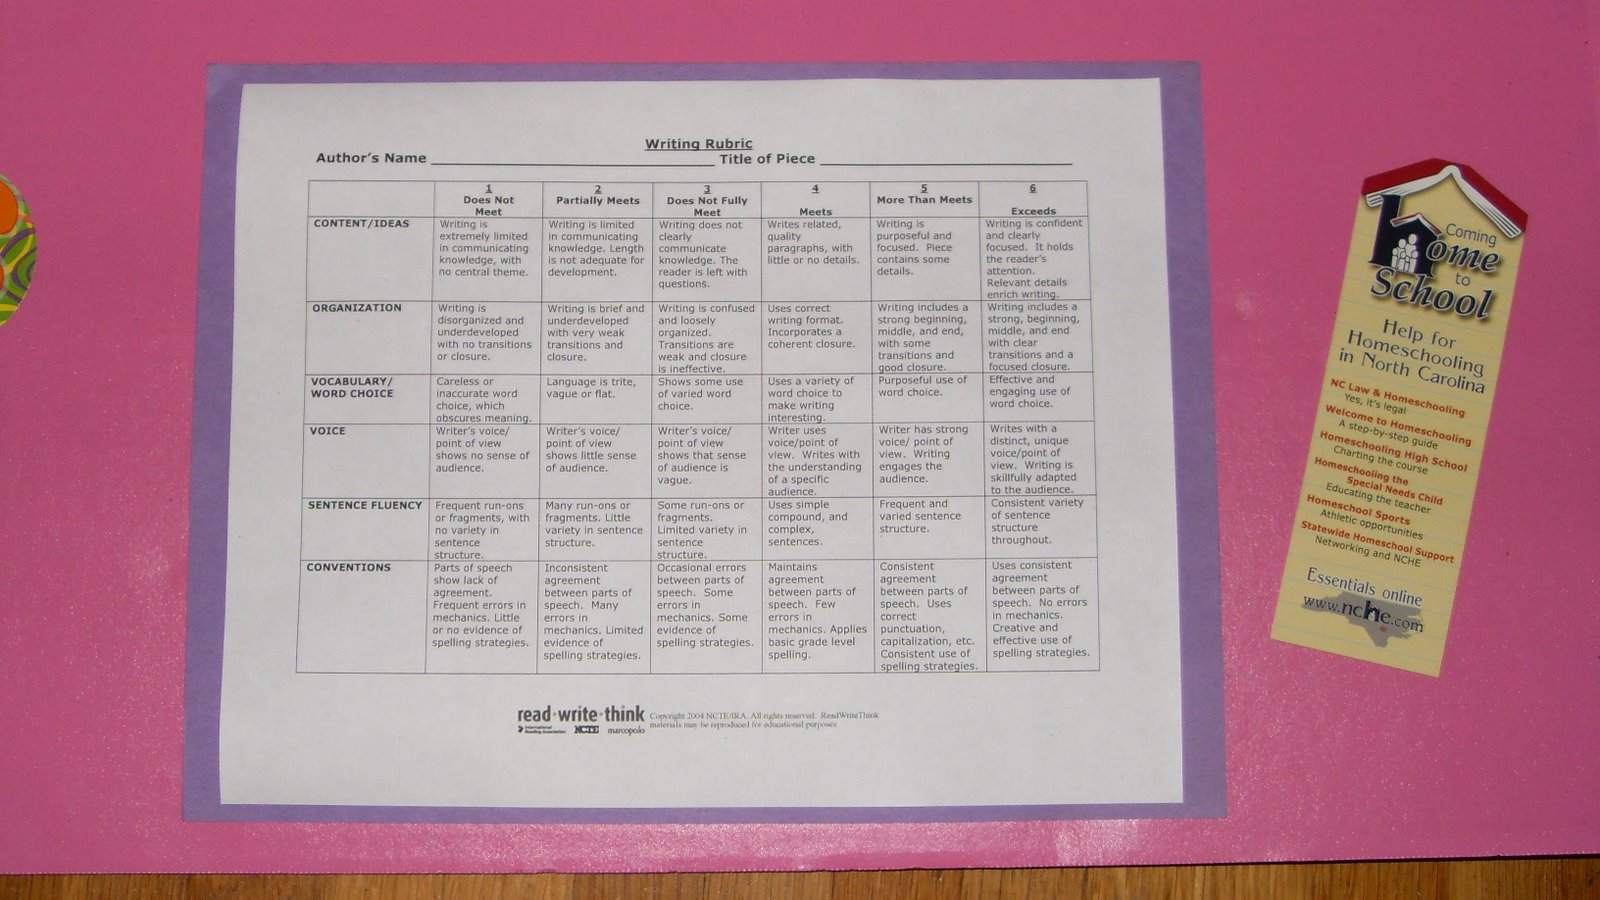
In the large middle panel, I have the steps for the scientific method (“Did you remember to formulate your hypothesis before you designed the experiment?”), a sheet with the basic rules for working with fractions, two sheets with basic geometry formulas, and a rubric for grading writing projects at the bottom. Yep, I’ve got a sixth grader and a tenth grader this coming year!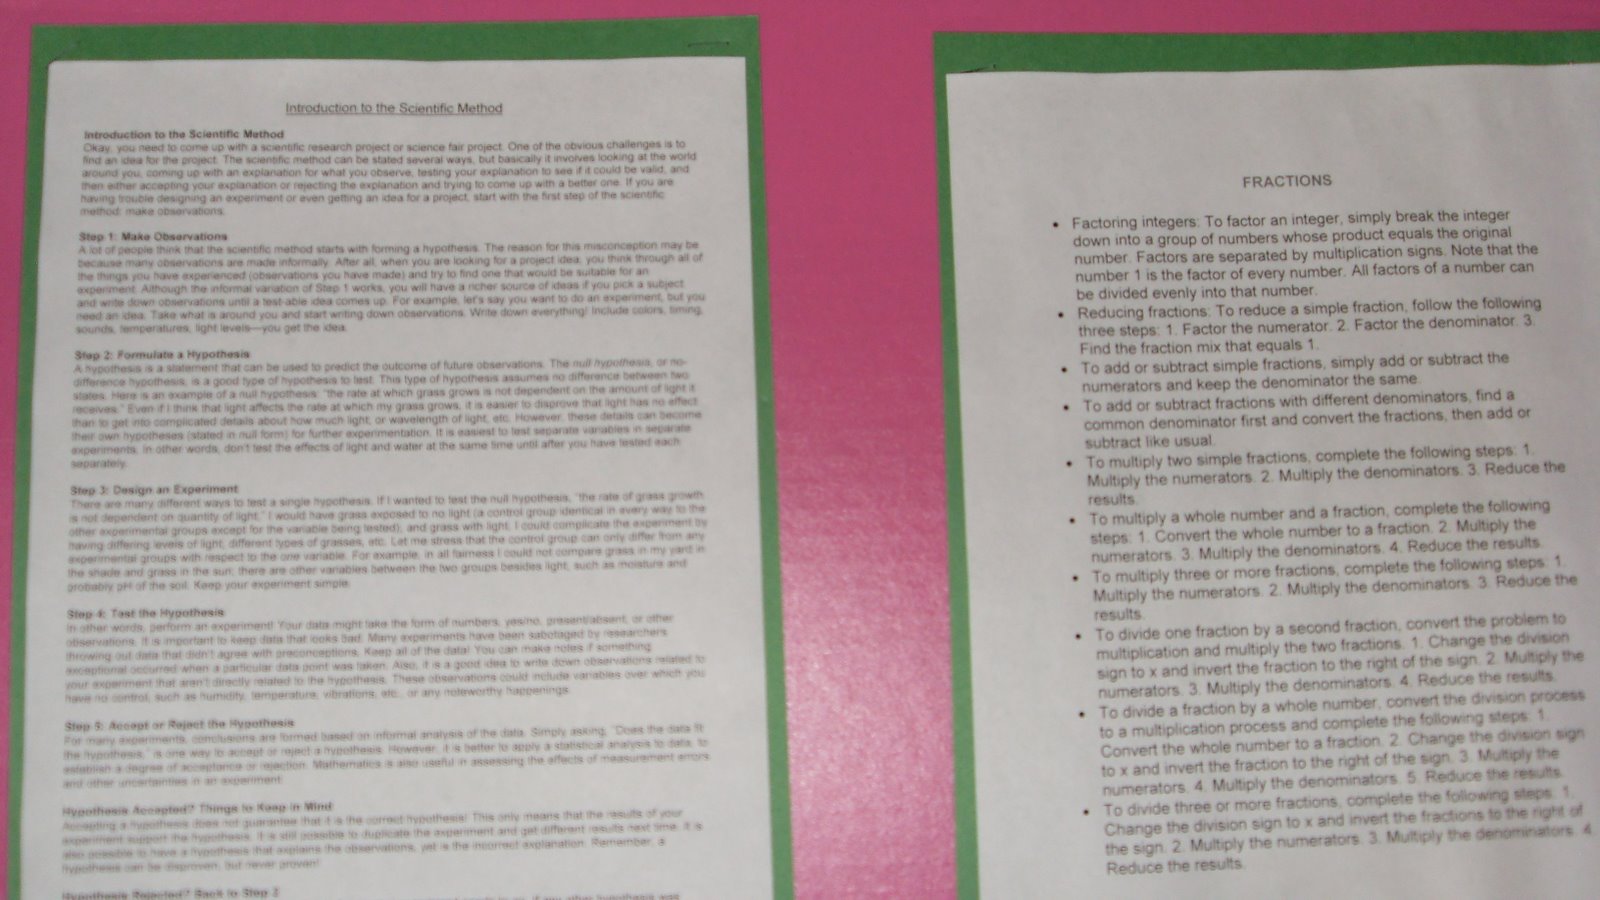
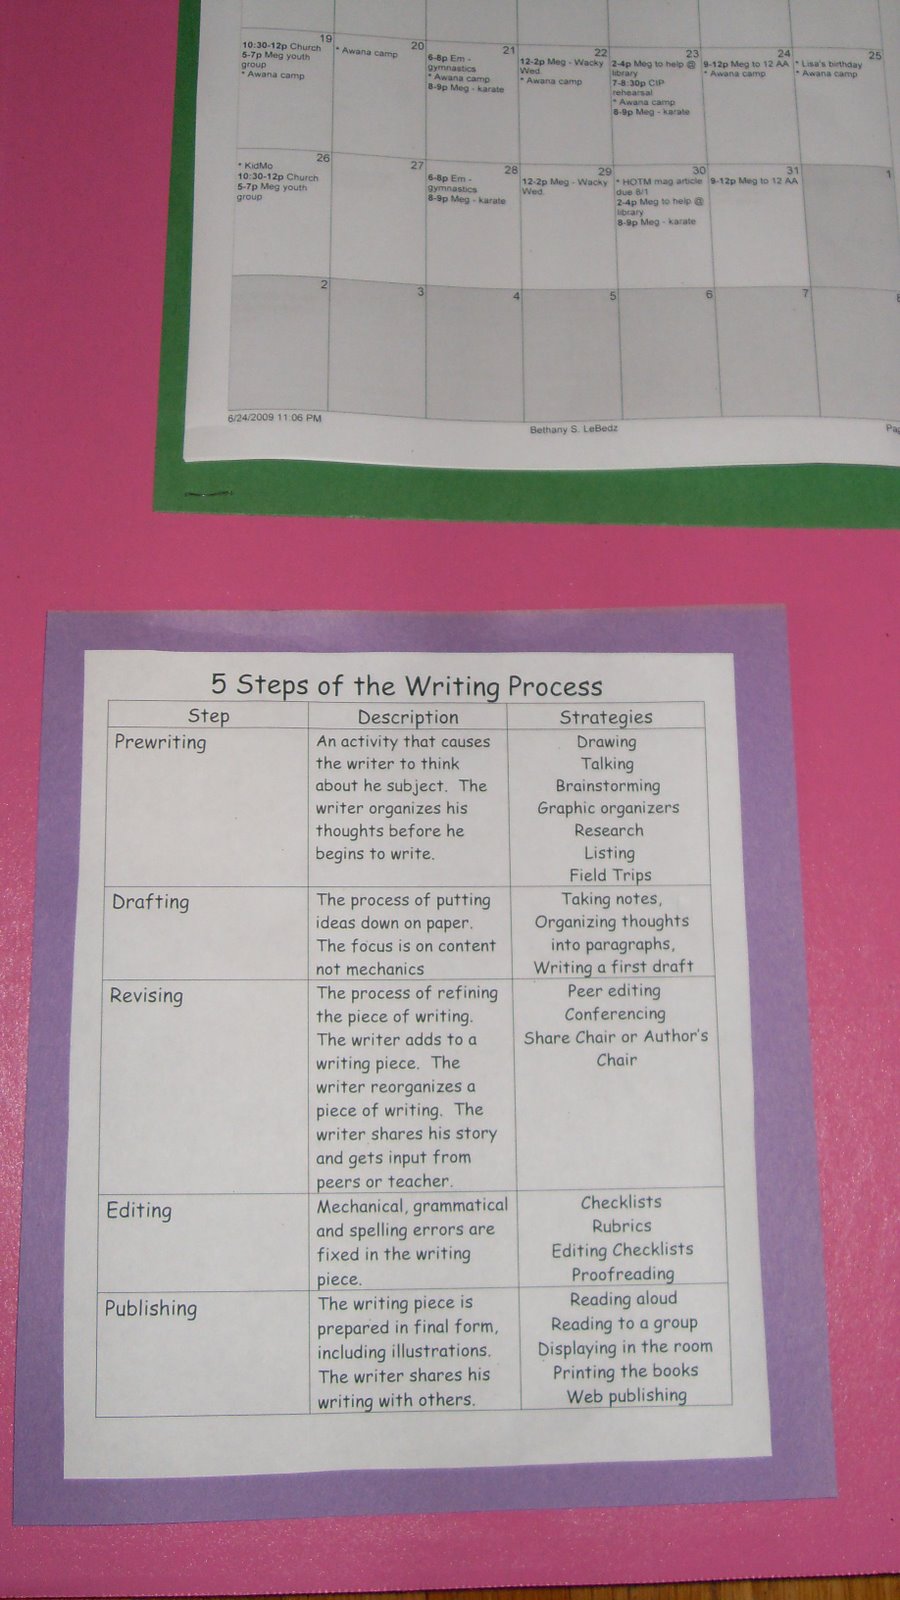
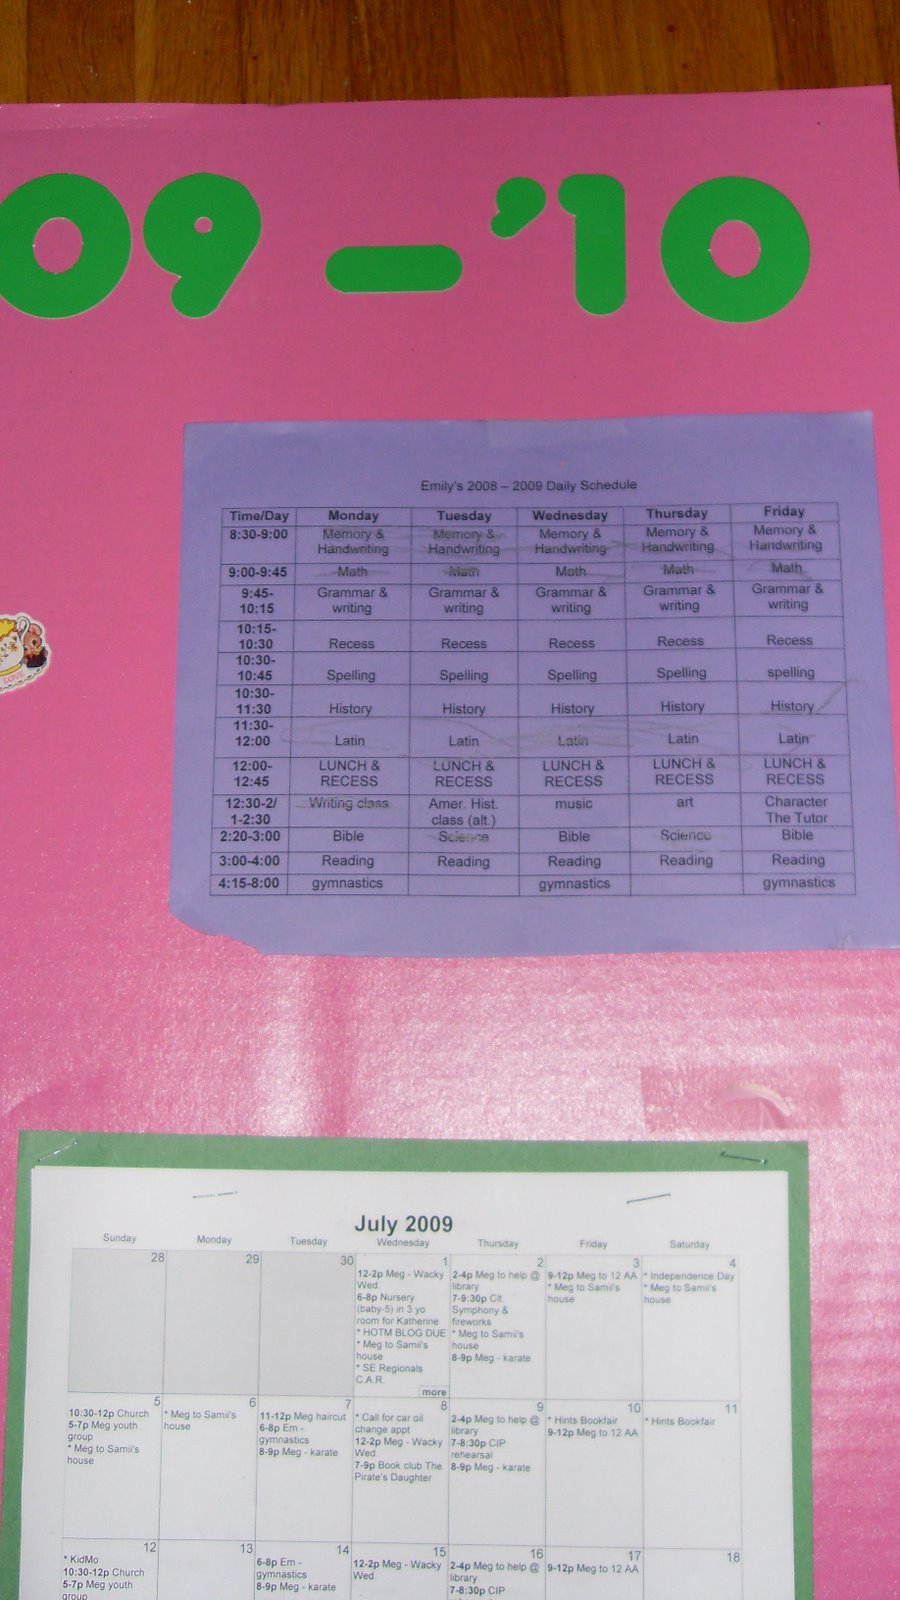 On the right panel, I have a daily schedule for the school year (math first, lunch at noon, reading to follow, etc.). This is especially helpful in the beginning of the year to keep kids on track so they do the harder stuff first when their minds are fresher and so they don’t forget to do the spelling. I also have a printed calendar of all our activities for a month. I printed it from my Palm Centro (otherwise known as my “brain”), but you can write on a blank calendar, print out a week at a time, several months at a time, or whatever works for you. At the bottom, I have a sheet with the five steps of the writing process.
Obviously, you can customize the things you put on your board to fit your family. I just happened to have left-over bulletin board letters, so I added a little personalization. You can cut letters out of construction paper if you wish. I added a few stickers and a bookmark from my state homeschool group. That’s all there is to it!
Leave me a comment about YOUR space! If you post pics of the one you make on your blog, I’d love to see it. Enjoy!

Bethany,Thank you for sharing this! It is so helpful! When I saw the initial photos on the HOTM article I didn't realize how large it really is. You made a whole room for yourself, didn't you?! You've given me some great ideas. Thanks so much!Blessings,Mrs. H
LikeLike
Hey there! From one organized homeschool mom to another…it's so nice to meetcha! Your article was great at HOTM!I just stopped by from the homeschool blog contest! Good luck!peace,lori
LikeLike