Put Paper in Its Place, part 3 (of 5)
Welcome to part 3 of the “Put Paper in Its Place” series. Last week we talked about how to set up a filing cabinet/drawer system. Today I want to cover binder systems. Some people don’t have room for a filing cabinet, and some people want to utilize both binders and files.
I love binders. I love them so much that I have sixteen of them in my house. Seriously. Most of them have school stuff, and a few of them contain music or other things. Does that qualify me as a Binder Queen? Many Web sites espouse the use of a “life binder,” a “household binder,” or an equivalent. I’m putting a few links at the end of the article about binder organization. If you find more, please leave me a message. I’d love to check out other people’s systems and ideas! Instead of repeating what they have to say, I’m going to show you how to use binders instead of a filing cabinet or box for all of your papers.
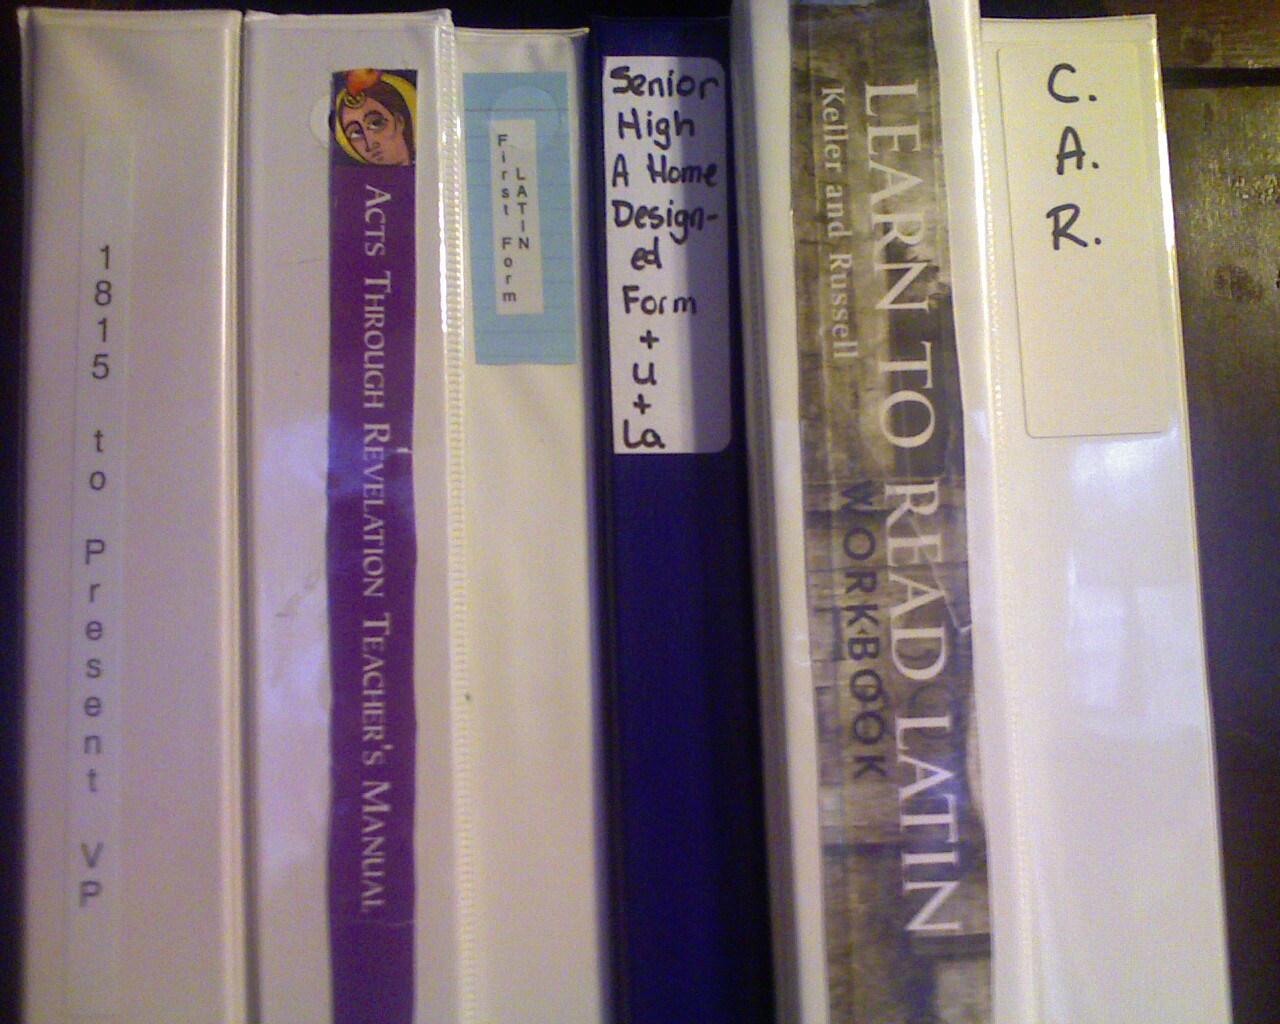
I have found that the one-and-a-half inch to two-inch size binders work best. They hold a substantial number of papers, but not so many that you can’t find anything. They store easily as well. Remember to have a three-hole punch handy; don’t even think about just cramming the papers into a binder without putting them on the rings in the proper sections! For papers that are not the standard size or that can’t be hole-punched for whatever reason, invest in a box of plastic sheet protectors. Keep them with your three-hole punch near where you store most of your binders. Color-coded binders could be fun; use a sharpie to write the categories on the spines and fronts so you can see at a glance which binder is which. If you choose the white binders with the clear covers, you can slip a labeled piece of paper into the spine and make your own cover (or get your kids to design the covers for you).
Start by making a list of the broad categories of papers that you need to organize and store. Yes, I am most definitely the List Queen! Be sure to write down such topics as bills to be paid, paid bills to be saved (temporarily!), medical or health, important documents, personal papers, household appliances, etc. Feel free to use your own titles, and make sure your labels are relevant to you. You won’t use this system if the divisions don’t fit your needs.
Now that you have general list of categories, decide whether or not the number of papers in each category will require their own binder. Some subjects can be combined into one binder with several different tabs. For instance, you can have a tax binder in which you have tabs for deductible charitable giving (church and missions), deductible medical payments (receipts for co-pays and prescriptions not covered under your flex pay benefits), your paystubs, utility bills (if you run a business out of your home), and any other documentation that you need to save for tax purposes. You can make a household binder with sections for appliance manuals, warranties (be sure the receipts are stapled to them), and receipts for large repairs and upgrades (like new windows). Make one binder for important documents and personal papers that need to be saved. For those papers that shouldn’t be hole-punched, use sheet protectors. You can make a tab for each member of your family, or you can make a tab for each section such as birth certificates and social security cards. Set up a family binder. Make a tab for each person and file medical records, school papers, work reviews, or whatever is applicable. If you homeschool, you will no doubt have several binders just for school, but I will cover that aspect in a few weeks. Stay tuned!
Now that you’ve got your binders set up, it’s time to fill them. Set your binders out on the kitchen table. Pick up a random pile of paper (I know you’re hoarding them somewhere!). Go through the pile piece by piece and put each paper next to or on top of the appropriate binder. If you don’t REALLY NEED to keep it, TOSS IT! It won’t hurt; I promise! When you’re done with one pile, put those papers into the binders behind the right tab. Then, move onto the next stash. After you get your binders set up, find a place to store them. They can go on a bookshelf, on a shelf above your desk, on top of the refrigerator, or on a shelf in the closet.
I realize that it is not always feasible to file every single piece of paper the instant that you touch it (which would be preferable), so you need to set up a to-be-filed spot. This spot should be convenient and contained so that you’ll actually use it and so that the papers won’t accidentally be knocked to the floor or all over the desk. I suggest using either an upright hard plastic folder holder or a single letter tray. The easiest way to keep everything straight is to have three slots: to do, to be paid, and to be filed.
Since I have seen many desks, countertops, and floors overflowing with papers, I’m going to repeat the admonitions from my previous paper posts:
1. Sort the mail over your garbage can. Take what’s left and immediately put it in the appropriate in bin: to do, to be paid, or to file.
2. Go through those in bins weekly (go through the to-do bin daily).
3. As you put each paper into the appropriate binder behind the applicable tab, ask yourself if you really NEED to keep it. If not, toss it! Also, as you file each paper, ask yourself if you STILL NEED the other papers in that section. Toss the fliers for events that have already happened. Toss last year’s field trip permission form. Toss last year’s utility bills. Please!
4. The process of setting up your binders and going through all your papers will take some time. Be patient and be persistent.
5. Keep at it! Train yourself to pick up those stray papers DAILY and to put them where they belong. Before you know it, filing papers in your binders will become a habit.
Ta-da! You are now a Binder Princess! The more time you put into maintaining your binders and the more binders that you accumulate, the closer you become to attaining Binder Queen status. Next week, I’ll be talking about what to do with the stacks of magazines lying on your coffee table and all those neat recipes you printed from the Internet.
Here are a few links to certified Binder Queens:
Cindy Rushton shares tips on how you, too, can become a homeschool binder queen.
eHow has tips on school binder organization tips.
Great, free, printable forms to help you and your kids organize your binders can be found on the ESL Printables Web site.
** This article was originally posted on the Lesson Pathways blog site recently. **

Good job! Keep it up…great ideas! BTW…I am naturally and organized person too…but these posts are very detailed and will be a blessing to pass on if the need should arise! Thanks for taking the time to educate others.Blessings,Camille
LikeLike
You must be my long lost twin! LOL! 🙂 I'm a homeschooling mom of three boys and a professional organizer on the side. I've always jokingly told my husband, \”Honey, if I die before you, make sure you find my Household Notebook…without it, there's no way you'll survive without me!\”~audrey
LikeLike
Nice to meet some kindred spirits!
LikeLike